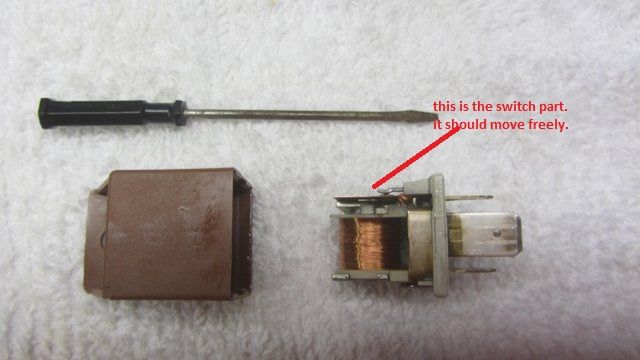
located near battery on lx150 after removing back cover five screws
you can pry it open to clean contacts
haven't found it yet on fly 150
note ; most power does not come from starter button to bendix but comes from relay which is opened by starter button


www.fly150service.blogspot.com
Above engine locations:
a. Idle screw
b. Air screw D shape inset
c. Evap hose slide on connect nipple
d. Auto choke connects here
The carb is not fixed to the engine but is held in place by the two large hoses at each end. The general idea when cleaning the carb is to loosen the clamps holding the two hoses and pry off the carb from the hoses, remove a couple of the other obstructions, and then turn it over...slowly... away from you....Then remove the bottom of the carb and thus expose the idle and other jets plus floats. Place a towel next to carb to catch the fuel that comes out.
Below are the clean carb photos technique from a great site on vespa forum. I have to put these in correct place and sequence with some explanation of procedure.
It sure makes the job easier with these photos and explanation.
at last - photo top view of fly 150 engine


Above: The white object is the automatic choke revealed when black cover is removed. This white object is removed-unscrewed for cleaning carb -as shown in another photo below.


This shows the location where the automatic choke was affixed.

There are four screws at the bottom of carb which have to be removed to remove the bottom carb cover and thus expose the chamber, jets and floats. I have to identify these screws which can be seen in the photo.


Above: remove-unscew holding bolts-white automatic choke object after removing its black cover - set aside before removing carb.
above: cleaning carb photos from vespa forum
Last update 1/15/2012.
I put this together to keep track of things I find and to help myself and others quickly find answers
Below are the photos of those pesky screws.
The D shape one is the air mixture screw (needs a special little tool from scooterwest) and the other with top view is the idle screw. These are located on the left side (front) looking down from the left of the scooter. The idle screw is easy to see at the top of the carb. The air mixture screw needs a small mirror to locate and can be found on the left front of the carb - about in line with your left knee and below where the evap hose enters. It is recessed into the small metal tube that feeds into the carb intake and it is set at the factory. It has little effect on the air intake and at the most should be turned no more than half turn in either direction - my understanding is that it has very little effect on the carb function - the actual mixture is controlled inside the carb itself by the idle jet and slide sleeves which are all cleaned and lubricated by the fuel and additives. Only way other way to clean these is to remove the carb and replace idle jet and clean with forced air etc. Taking the carb off is a labor intensive job and not suggested unless you really have major carb problem...and all the right tools. There is a complete description of this work on the vespa forum site - which I will add later. date now 1/15/2021.
More later on these.
Note the blue home-made evap hose filter in the next photo
The following two photos show (1) the evap hose fitting with hose removed and home made blue filter attached to small portion of the hose(2) the evap hose on the fitting


Just started to change idle jet and adjust air screw mixture. Bought the special tool and jet from Scooterwest. The Fly 150 has a small work space for the carb because unlike the LX 150 you cannot remove the pet carrier. Good photos etc on modernvespa forum - well worth reading all of them before beginning this project...will need time and patience and right tools. Oct 30, 2011.
regane gumout gets good reviews - use 2 ounces with fill up - every 400-500 miles unless urgently need to clean out old gas oil etc....really worked for me...now i use sparingly one ounce every 200-300 miles....fly 150 just zips along.
new notes; turn air mixture screw out anti-clockwise 1/4 turn for richer faster mixture - rarely have to do this - makes little difference anyway and preset by factory.
the air mixture screw is under the slot piece that the hose for the evap system went into the carb - and as such is almost impossible to reach with the adjustment tool which is a small brass 1/4 moon shaped inset wrench inside a small piece of plastic tubing - see photo on scooterwest site - you have to look in a mirror to line up the shape and then have an allen key with the right angle end inserted into the tool (with a white line painted on and showing where the 1/4 moon slot is located in the tool) that allows you to fiddle around to get the tool to fit onto the mixture screw and then to the 1/4 turn adjustment anti-clockwise to make the richer mixture....lot of time,patience and luck to get the simple job to work. turning the carb over to replace the idle jet is a long long project - there is very little work space in the fly 150 carb area.
complicated yes - but can be done...photos for this job will post later.
=====================================================================
===================================================================
overheating/air flow thoughts
the fly 150 has limited air flow - you could remove the small engine cover that is behind your heels when sitting on scoot - also remove bowl shape carb/engine cover in pet carrier - this will give lot more airflow over engine - try it for a 30-40 mile ride - if it works then just cut out larges holes in covers and insert some wide mesh foam air filter material
check following items
buy shell rotell t6 5-40 oil from walmart - very cheap by comp
hiflo hf183 filters at amazon or ebay a great buy
================================================================
These photos show how to unlock the seat when keys are lost or left in the seat locked. Taken from Modernd Vespa forum.
Also, SCOOTERS ORIGINALI in Orange New Jersey may be best service center in NJ NY area.
The first photo is of thin piece of plastic cut to shape and then slid under the rear of the seat and inserted until it stops. Then pull back on the plastic piece, and it will engage the latch and release.
The second and third photos involve the use of a 1/8' piece of metal rod with a two inch bend at one end. Insert into rear of seat at rear right side and move over to center, then push sideways to allow rod to be at right angles, then twist rod so that the bent part moves upward and strikes the release bar.
These methods work and were taken from ModernVespa Forum.


try conti navigator tires to replace savas
helmetsrus.com for good prices on visors etc
above: the key under the seat solution photos from modern vespa site